Search the Community
Showing results for tags 'v1.4.0.7'.
-
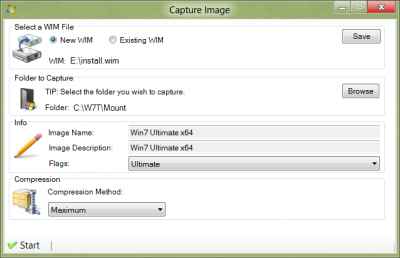
This tool lets you capture images which then get added to a new *.wim or added to an existing one. Step 1: Select your option Firstly you need to figure out if you want to make a completely new wim or add to an existing one Warning:If you select the 'New WIM' option and select an image that already exists then it will be completely replaced. Step 2: Select WIM location Depending on the option you chose in step 1 then click 'Browse' and select your image you wish to add to OR press 'Save' and select where you wish to save the new image. Step 3: Select folder Select the folder you wish to capture inside an *.wim file. Step 4: Info W7T will try and fill in the 'Name', 'Description' and 'Flags'. Note: If you're adding to an existing image then your image name must be unique, it another image has the same 'Name' then it wont work! Option: Compression Its best to leave this at the default setting 'Maximum', which ensures a smaller *.wim file size. Once the above is done, click start
-
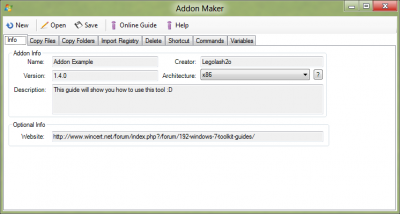
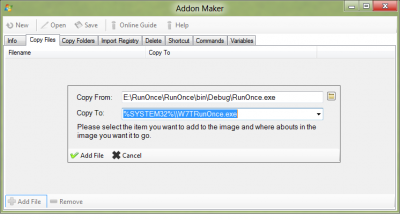
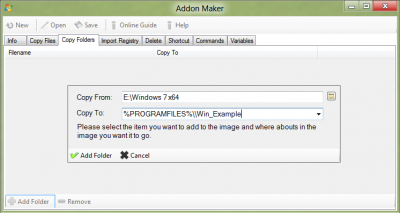
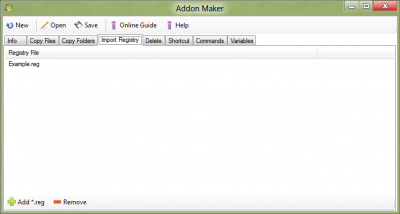
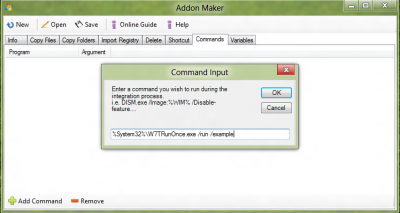
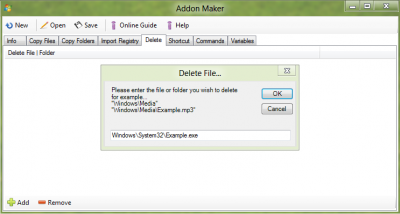
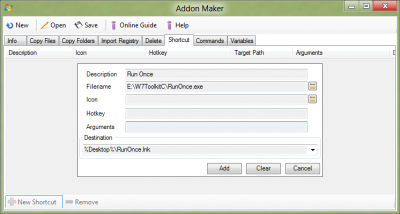
This tool lets you create addons for Windows 7 Toolkit, this tool has a lot of potential, more than people realize! Used correctly, this tool can have your progams pre-installed after Windows installation. This tool is the most complex, but you becomes very easy to use ones you get your head around it but this is not for the faint hearted. So good luck! Note: I will only be covering the basics! Info This is one of the easier screens and is pretty self explanatory and i'm pretty sure you can figure this out. Files This will copy file to the mounted wim image when someone adds this addon. So go ahead and click 'Add Files' at the bottom. 1. Click the folder button and browse to the file you wish to copy. 2. Select the destination, you can choose to a pre-defined area and then add '\\filenameyouwant.exe' You can also type it in manually like 'C:\Windows\System32\RunOnce.exe' but you would not type the beginning 'C:\' so it would be 'Windows\System32\RunOnce.exe' Folder Same as above, select the folder you wish to have installed and then select where you want the folder to go. Add any *.reg files you wish to have installed or required for your addons, some users use a program like InstallWatch which tells you what registry/file changes where made to your computer during an installation. You then export the registry changes and import them here. Delete Files Type in the location of the file you need deleting for example 'Windows\System32\Example.exe' Shortcuts This is where you can create shortcuts for the program you made. You can just copy and paste a pre-existing shortcut from an installation in the 'File' tab and tell it where it needs to go i.e. Desktop. You don't need to use 'Icon' if the exe you pointed too already has one. Also 'Arguments' is mostly left blank as you don't need anything like /s /q /quiet, etc.. Commands This is for commands which you want to run after Windows has been installed. It doesn't seem like it has alot of potential but trust me it does! Used correctly, you can do anything with this tool. As mentioned above you can use InstallWatch to record what an installation does, so that you can use that information to make an addon which then has that program pre-installed when you have Windows installed. Any questions about this tool (not bugs) just post in here and i will try to reply.


